Project 81: 7 – Knowing your onions

My 5 rows of onions were planted about 3 weeks ago and some have already sprouted. I wrongly assumed that October would be very quiet for gardening. Last week I planted my Provence Wight garlic and my Elephant garlic but I imagine it will be some time before they decide to put in an appearance.

I’ve seen a few videos about planting some cauliflower and broad beans to over winter in the greenhouse so I might give that a shot.

Next month the rhubarb crowns, raspberry canes and gooseberry bushes arrive. The peas and lettuce are doing well in the greenhouse.

Featured post

Project 81: 5 – Garlic, and a salute for a plucky squash

Yesterday my starter garlic bulbs came from King’s Seeds. I have the impressive Elephant garlic and a variety called Provence Wight. I have three planting locations on my plan for garlic; as a companion to the Rhubarb which arrives in November, as a companion to the two varieties of cauliflower which start next year, and solo in a barrel planter near the tomatoes.

The only current problem is that the future cauliflower and garlic bed has the very end of my banana squashes. I have picked the main crop, and despite the worsening autumnal weather and dying foliage, a plucky little squash is doing its best. We have agreed that Bruce (yes, I name them) can remain until the first frost kills all the remaining leaves. When Bruce is ready to come in for roasting, I’ll clear the bed, dig in some pelleted chicken poop, and, a few days later, get the garlic in, which is due to plant in November anyway.

Featured post

Project 81: 4- Looking back

This year’s growing cycle is mostly done, but thinking back to the lessons I learned has helped me compile next year’s plan.

  1. I can grow sweetcorn but I need to space it well, plant more of it, and feed it more. I’m growing it in two places next year
  2. Just because the seeds came out of a butternut squash packet from a reputable seller, doesn’t mean that’s what you’ll get (Banana squash resulted).
  3. Squashes are thugs and will take everything over. I’m building them an arch next year
  4. When you buy tomato plants from a garden centre because yours failed to germinate well, don’t assume you’ve picked the full-size variety. One can have too many cherry tomatoes.
  5. Two years ago I planted 12 runner beans as seeds, it was too many. This year I planted 8, still too many. Next year I will try 6.
  6. My carrots (Nantes) did very well in a whisky barrel with a good chunk of sand mixed into the soil.
  7. My potatoes (Desiree) that did the best also had a good deal of sand mixed into the soil and grass clipping to mulch them up.
  8. If you don’t remove the side shoots from Celeriac, you get a very small bulb.
  9. Radishes grow quickly and easily, but that means you need a use for a lot of radishes.

Featured post

Project 81: 3 – Buying

There is something delightfully old-school about sitting down with a paper seed catalogue and planning your garden for next year. It’s adding the tags, considering the varieties, amending the plan, thinking about it, and coming back to the catalogue after some rumination.

That’s why I put in a triple-digit value order with King’s Seeds—they sent me a nice big A4 catalogue. Allowing for about 10% of other seeds I have been given, 90% of next year’s plan comes from King’s Seeds. I will see how they fair, but I will also admit if I don’t follow the instructions.

In addition to seeds, I have rhubarb and asparagus crowns, four types of seed potato, and horseradish thongs, which will be dispatched as they become available. The best part of this exercise was learning that a fledgling horseradish is called a thong.

Featured post

Project 81: 1 – Starting

I’ve been gardening for two years. I’ve also been making mistakes for two years and I’m slowly fixing them. I started out with the decorative garden. Then fruit trees were added and they do well with little interference from me. The herb border which was added this year was started with twenty £1 pound potted herbs from Facebook Marketplace. All are doing well and other than a little light watering they are on their way.

But now it’s time to think about the edible garden.

I started trying to find a planning app to help and in the end I settled on Grow Veg. It’s a good desk-top based program which has a lot of features but they are usable and intuitive. The introductory video shows you how to plan a garden. The plant list and plant families help you plan future gardens. You can tell it which plants are in the ground now.

It also allows you to publish your garden online so you can share it. Mine is here.

Featured post

Project 81: 2 – Principles

I have already published my plan to plant 81 things in the 2025 vegetable patch. You can find it here.

I’m setting myself some guiding principles to stay on track during this time.

  1. I will plant in containers, pots, bags and half-pipe gutter planters
  2. I will build if I can do it well, and buy if I can’t
  3. I will keep the vegetable garden to the back patio and use irrigation systems
  4. I will plant more than one variety at a time
  5. I will start seeds based on a 50% germination and use LED light systems to improve this
  6. I will carefully count the seeds I start and not feel the need to finish a packet
  7. I will use companion planting and trap crops to improve the crops that make it to harvest
  8. I will not plant crops I have no interest in eating
  9. I will try the Three Sisters planting method

Featured post

Jam Making made a lot easier

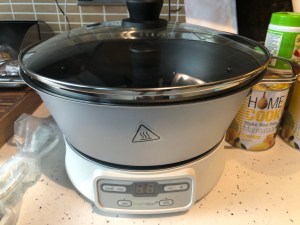
I like to make jam but I find it a real faff, the preparation, the amount of time, the burns, the testing on a saucer, the clean up, and everything is sticky for days later.  I think that I have finally made it a lot easier with the help of a gadget and a bit of planning.  The Belltech Jam and Jelly maker from Lakeland.co.uk really is a very good gadget.  It isn’t cheap, coming it at over £100.00 but it really has made jam making so much easier.  I started out using the pulp and pectin which came from Lakeland and I’ve now diversified to preparing my own fruit and using the cheaper supermarket pectin.

So here’s how I approach it now.  I work on sugar being 80% of the weight of the fruit up to a max of one kilo, and one sachet of pectin.  Any alcohol gets added in at the end.

120 minutes before – runs jars through the dishwasher

40 minutes before – turn oven on to 100 degrees.  Start preparing your fruit.

30 minutes before – remove jars from dishwasher and put into oven.  Put the jam maker on the counter along with your jam sugar and pectin sachet.

25 minutes before – sprinkle the pectin into the jam maker and add the prepared fruit. Plug the jam maker in, press the jelly button and then the enter button.

21 minutes before – the jam maker beeps, you add the sugar and put the lid on.

1 minute before – take the jars out of the oven.

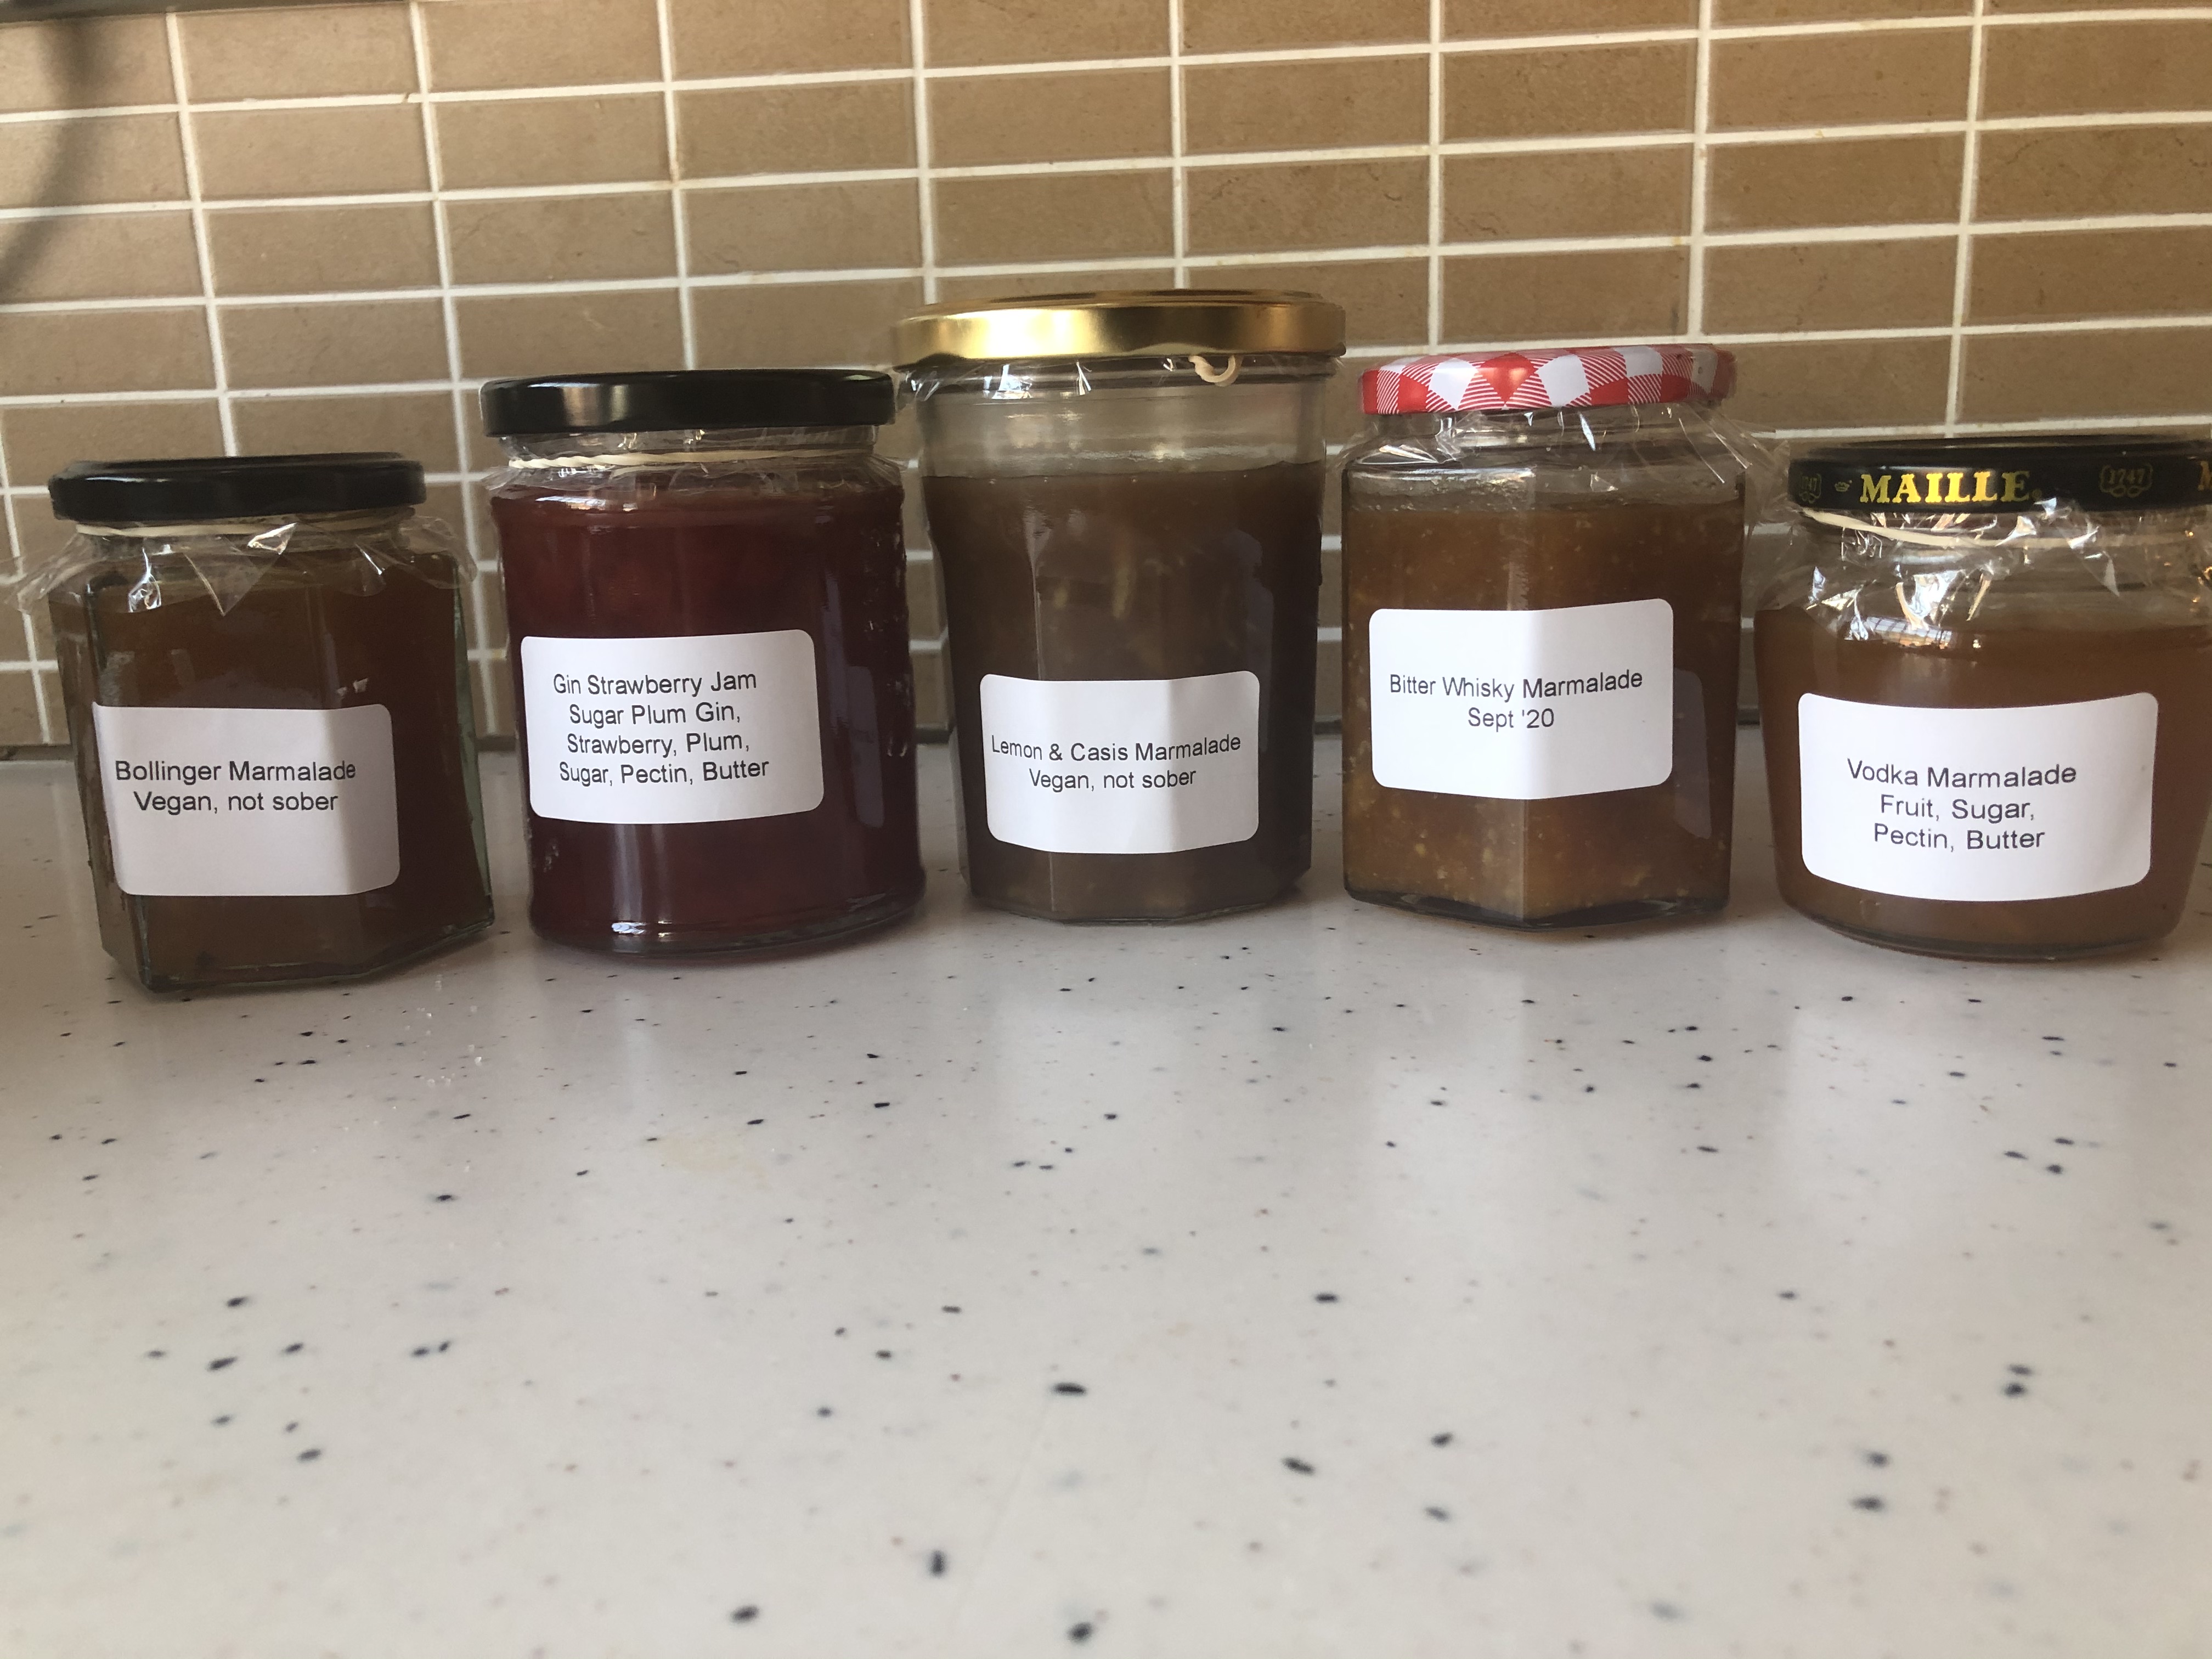
0 minutes – Jam is ready to jar and seal (this is the point at which I add 0.5-a cup of alcohol.

The jam maker and all the accessories go into the dishwasher.

So what are the downsides: Maximum 1 kilo fruit means your batches won’t be that much bigger than 8 medium jars.


Blog at WordPress.com.

Up ↑